Making Ready a 1970 GM 4108
Making Ready 1970 4108 is a focus of this bus conversion article. Below you will find practical guidance, builder insights, and community tips about making ready 1970 4108.
In 1993, we had our first close encounter with a converted bus while camping in our commercial RV in Charleston, South Carolina. We couldn’t stop admiring the handsome conversion parked near us. The owners, Bob and Carol Norwood, graciously invited us in for a look and patiently answered all our questions. They succeeded in convincing us that traveling by bus was the only way to go.
Bob had converted their bus and, after an evening of conversation, Roger determined that he, too, had the skills to do a conversion. He had a lifelong interest in and experience with auto mechanics, taught high school shop for 30 years, and possessed skills in autobody, woodworking, electrical, and plumbing.
We began paying attention to converted buses on the road and attended several rallies to become familiar with conversion options. We loved the feel of a “vista window” from the inside of a coach. We also determined that a 35‑foot bus would allow us to reach places a larger coach could not, yet still be long enough for our needs.
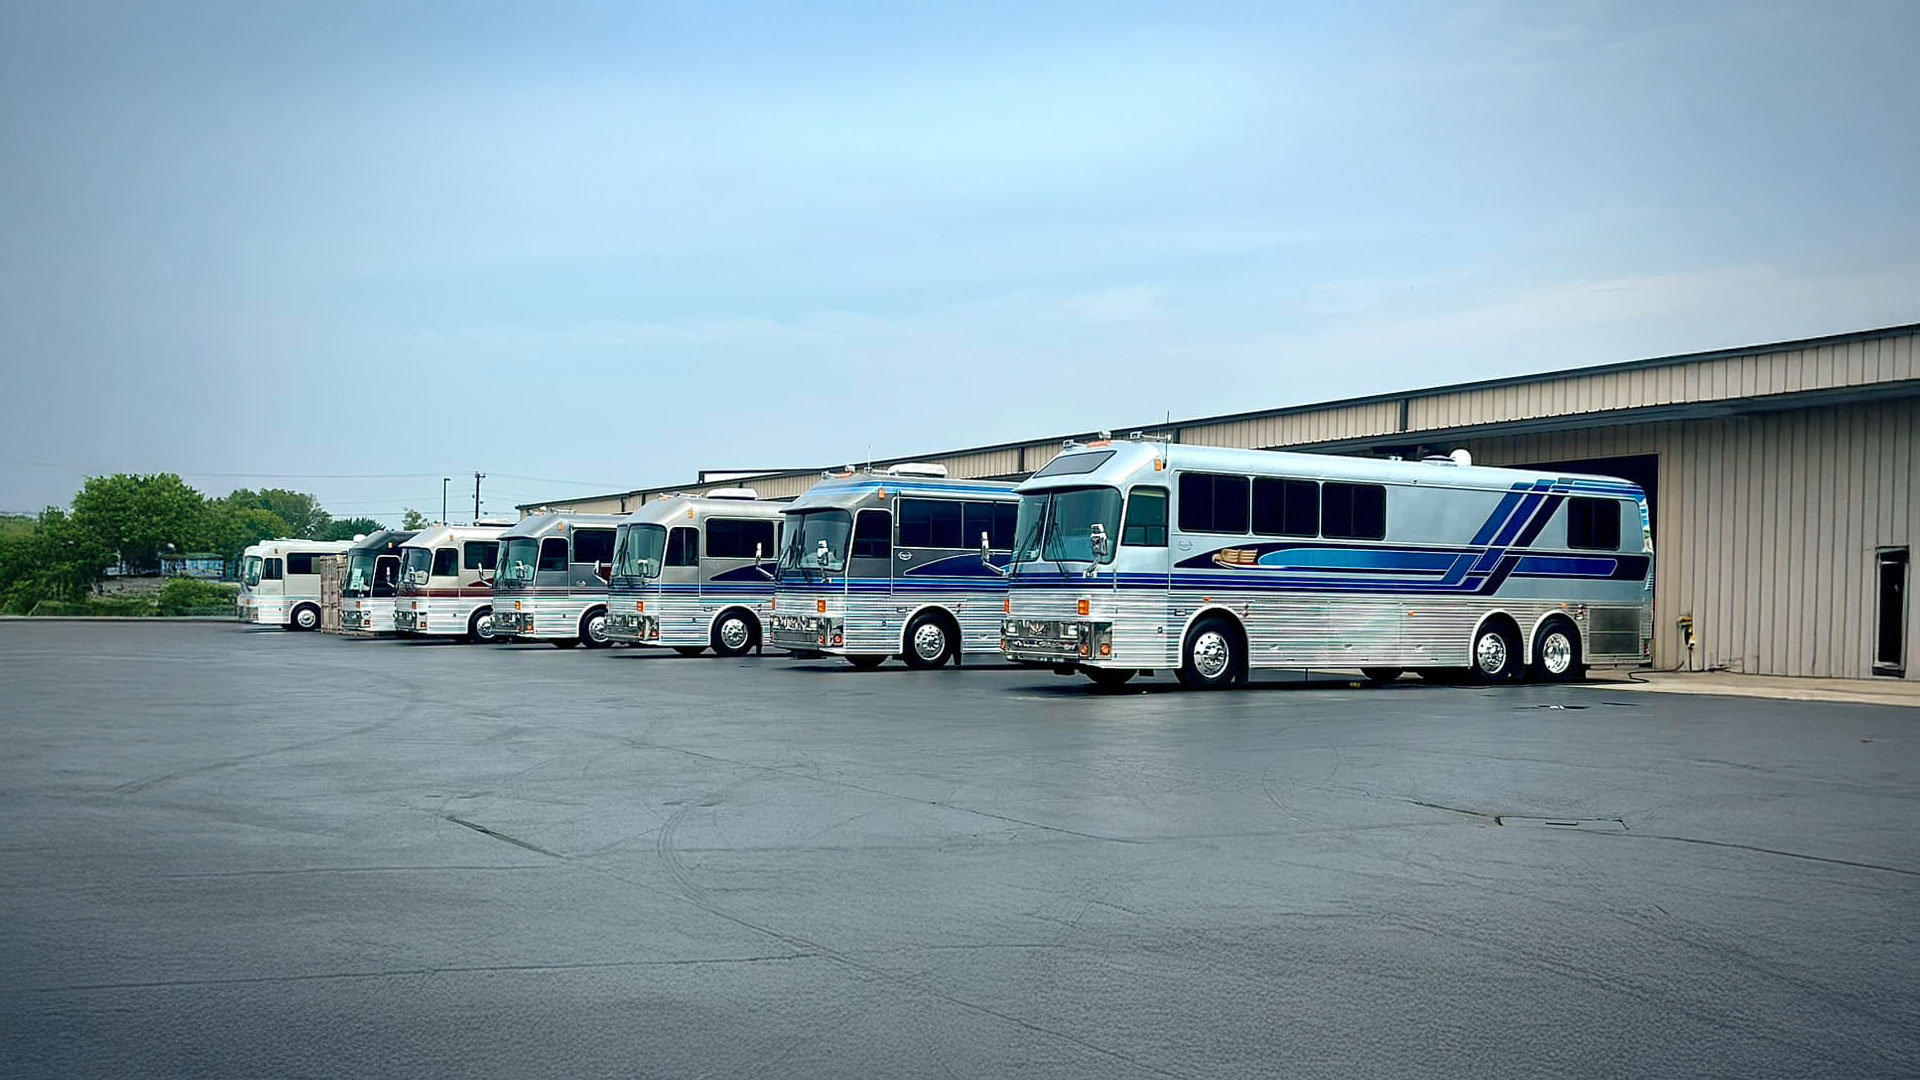
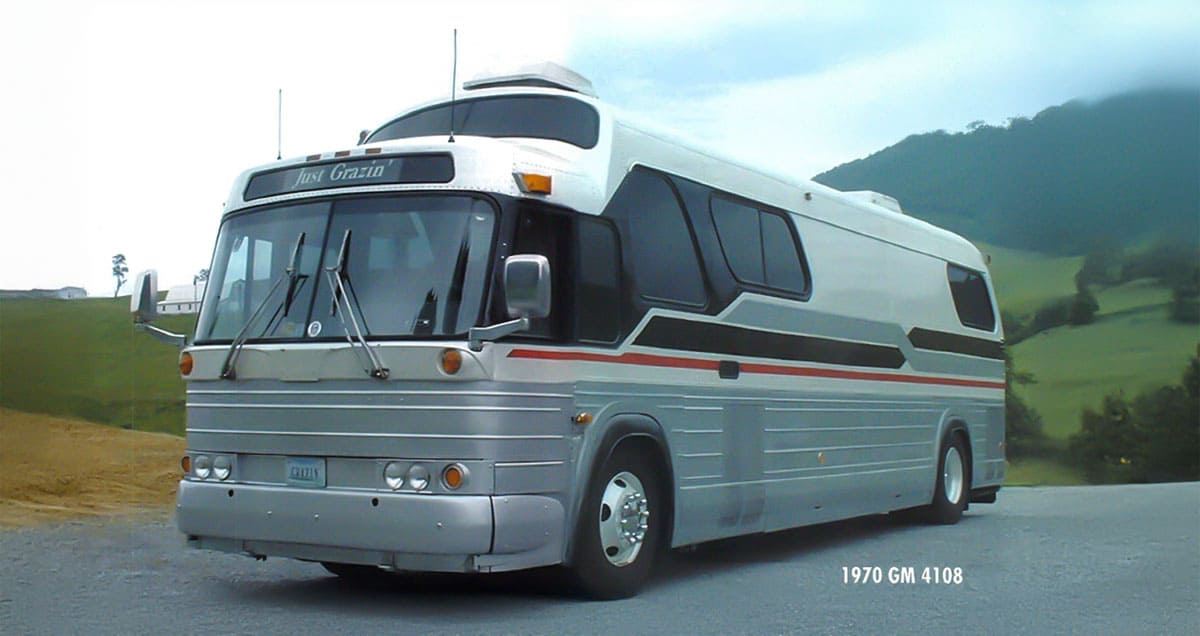
We heard that the GM bus—even when tired—is so reliable that one can always get home with only a screwdriver and a pair of pliers. With these prerequisites in mind, our search for the perfect candidate began. It ended at Housman Bus Sales in New Jersey, where we were able to pick from a fleet they had purchased from James River Bus Lines of Richmond, Virginia. We chose a 1970 GM 4108 (bus No. 10) that had 769,000 miles logged and had been purchased new by James River. We figured all we needed then was three years and $30,000 to do the conversion—ha!
It was Roger’s job to drive our new purchase from New Jersey to our home in Connecticut. He was getting used to shifting a standard transmission with a wet clutch on the New Jersey Turnpike. Just before a toll booth, the engine stopped. He coasted to the side of the road. He hit the restart button. It fired up immediately but stopped when the button was released. Several attempts produced the same result. The state trooper who pulled in behind said the vehicle had to be moved from the highway, so a wrecker was called.
The wrecker driver recognized it as a private coach and thoughtfully suggested he try to find the problem, since it would cost $450 just to hook up. Good idea! He immediately spotted that the air‑fuel shutdown solenoid had failed; however, there was nothing he could do to fix it on the spot. Roger asked if he might borrow an Allen wrench to loosen the bolt and pivot the valve, preventing it from shutting the fuel rack down. Success! The only problem now was that the motor could not be shut off without opening the engine compartment and doing a manual shutdown. No big problem.
At least, it wasn’t a problem until we hit first gear in heavy stop‑and‑go traffic on the George Washington Bridge. A large bang sounded from the rear, and the bus wouldn’t move. The shifter felt like limp spaghetti, and only third and fourth gears remained. Getting the large vehicle moving from a dead stop using only third and fourth gear was an interesting experience in the middle of rush hour on the George Washington Bridge. Although there were many other stop‑and‑go situations along the way, Roger was able to nurse the bus the remaining eighty miles home.
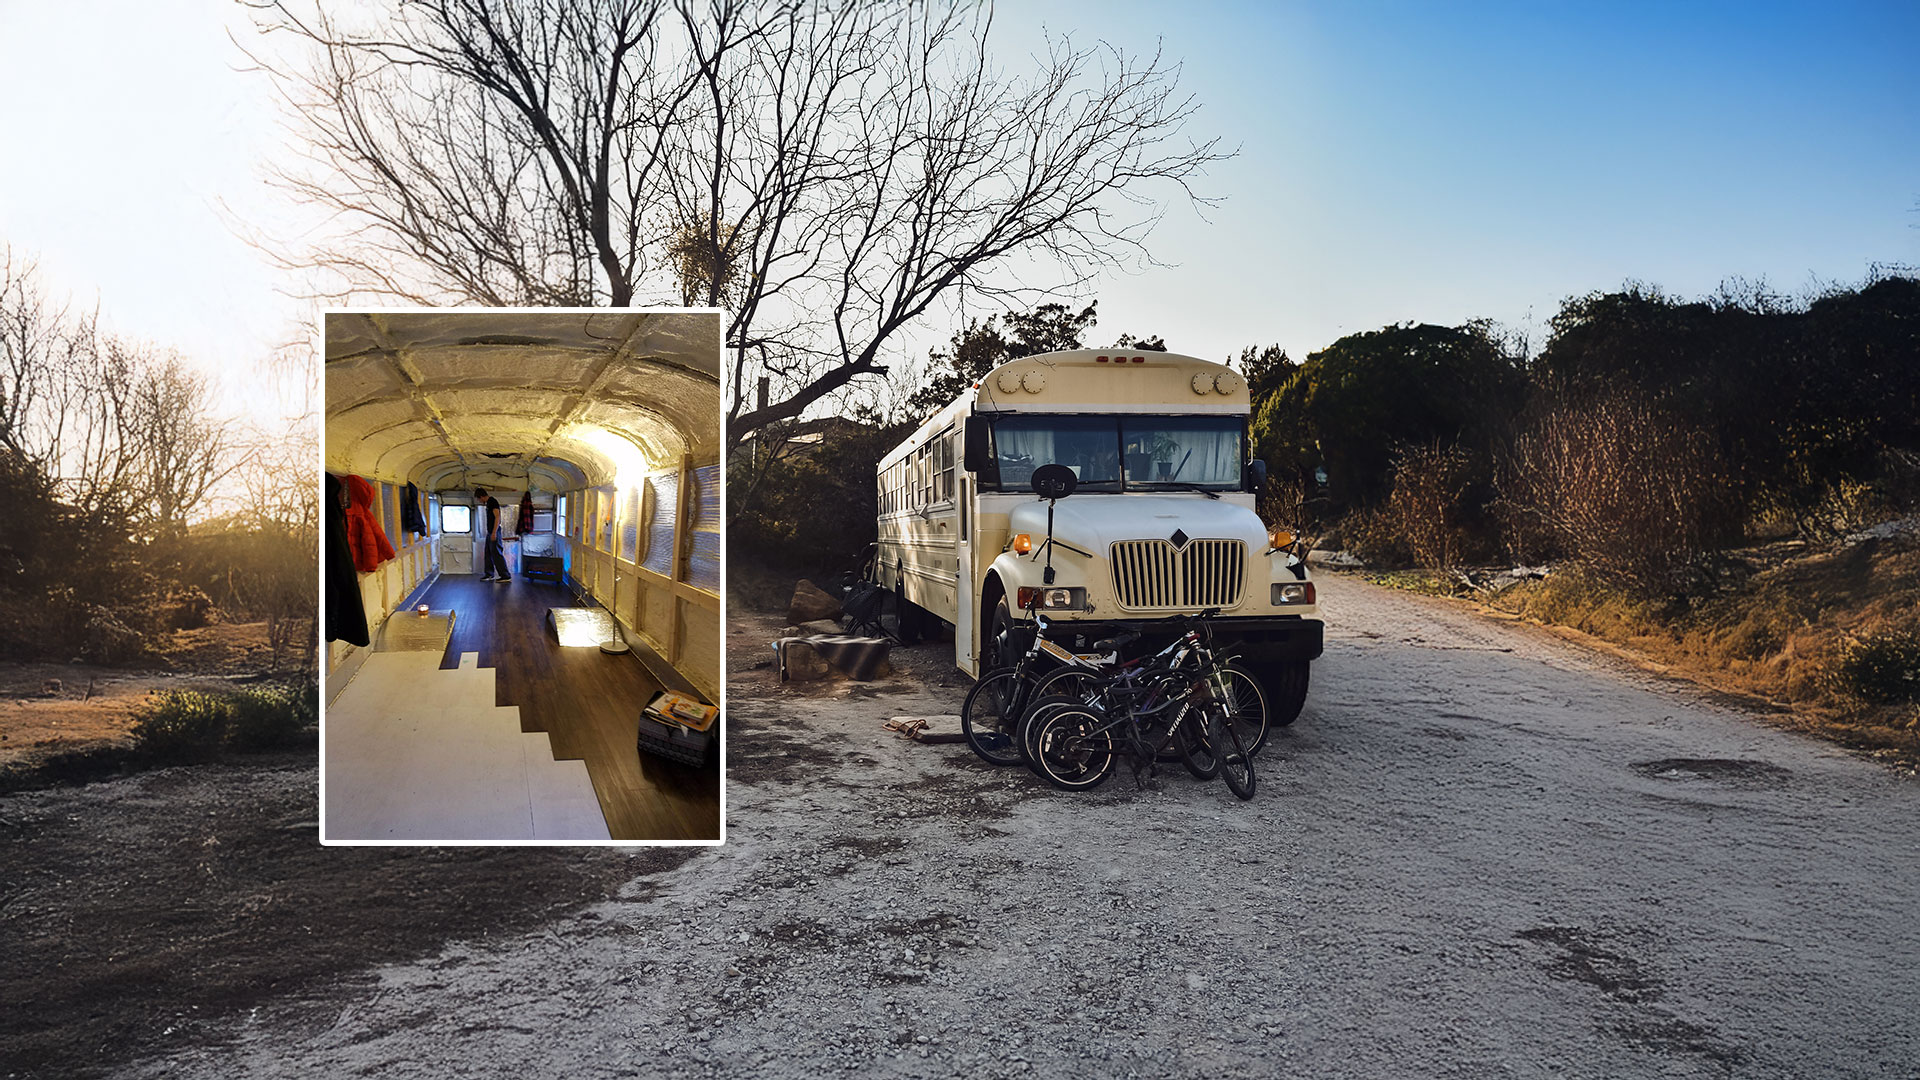
Our good friends, Linda and Bill Knox, displayed remarkable enthusiasm for what most of our neighbors thought was an insane project. They set to work helping us remove the seats, luggage racks, ceiling, and toilet. Once the interior was stripped to its outside skin, we began the insulation phase.
One‑eighth‑inch sill insulation was glued directly to the exposed skin. Then, a one‑inch ridged foam board with a 7.5 R‑value was cut to fit between the ribs. It was scored, bent, and filled with spray foam where curved pieces were needed for the roof radius. All rib channels were filled with two‑part expanding spray foam. All seams were covered with aluminum tape.

Meanwhile, Roger decided he would install an Allison 730 automatic transmission and Sheppard power steering to make driving the beast easier. The Internet led us to manuals that listed all the parts needed for the conversion. Besides cutting the bulkhead and fabricating reinforcement braces to hold the heavy transmission, a new, shorter drive shaft had to be installed. Roger thanked his former student, Bruce Amundson, for the valuable help he provided in completing this part of the backyard project.

At about this point in the project, Roger retired and was hired by a local tour bus company to perform body and mechanical work. This opened the door to invaluable experiences and opportunities that helped move us toward the reality of bus conversion travel. We would like to thank Mark and Paul at Constitution Coach in Bolton, Connecticut, for their support and patience. They assisted with the procurement of parts and the rebuilding of the brakes, suspension system, and motor. They also offered Roger the opportunity to get his CDL and drive their tour buses. Driving their 45‑foot coaches made driving our 35‑foot coach feel like driving a Volkswagen.


Now that the mechanical work was complete, it was time to focus on the exterior of the bus. The first order of business was to sandblast the entire outer surface of the bus. The two center windows on each side of the coach were removed and replaced with panels fabricated from 16-gauge steel and buck-riveted into position, following the original rivet placement. Our good friend Bob Judd spent many hours in a headset helping Roger with the noisy buck riveting.
We wanted to keep the original profile of the bus but needed to address the leaks and rust around the rear window. We decided to remove the window and replace it with a panel on which a mural could be painted. Roger fabricated a piece of 18-gauge steel to fit the opening and MIG-welded it around the perimeter. The welds were ground to shape using a grinding wheel contoured to create a smooth blend between the panel and the reveal.


After all the dented panels were replaced or straightened, the bus was sanded and primed. Then it was time to paint. Roger’s connection at T&J Autobody in East Hartford, Connecticut, arranged for the weekend rental of a large, modern, downdraft paint booth with baking capabilities. With the help of two professional painters, Roger applied a three‑stage basecoat/clear‑coat pearl paint from the roof to the top of the luggage bays. Every window in the bus was replaced, including sliding Peninsula side windows. A local artist applied an airbrushed and hand‑painted oil mural of a buffalo couple to the back panel. The silver luggage bays, nose, and deck lid—plus the graphics—were painted in our home garage at a later date.
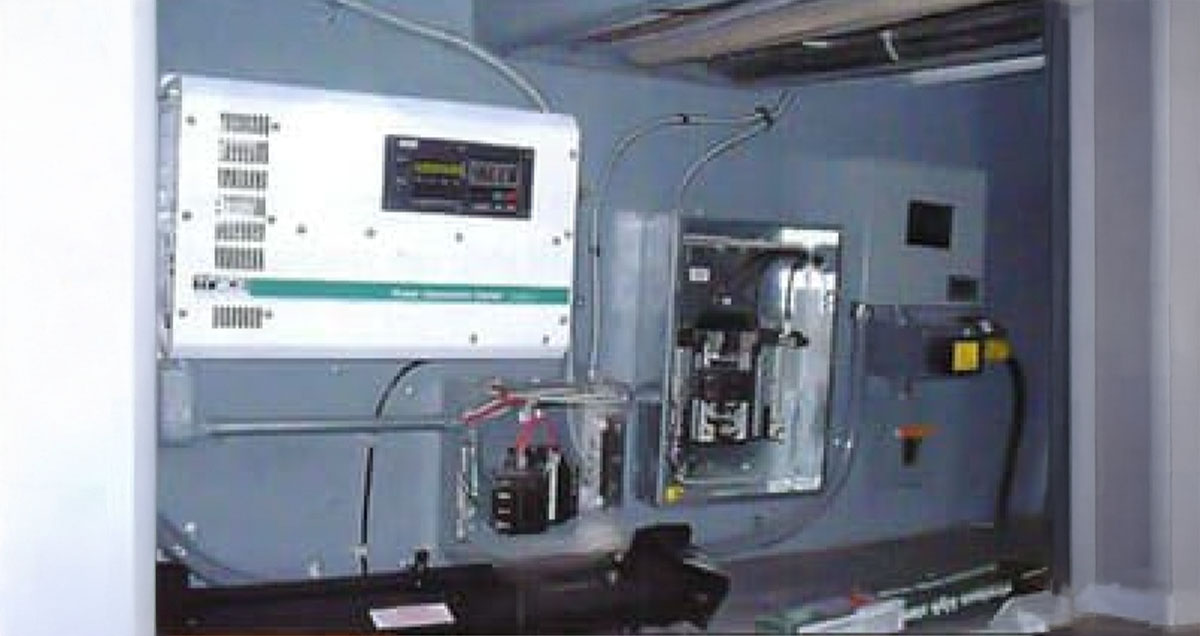
We had taken note of the trend toward all‑electric coaches. Roger already had an understanding of battery technology, so we decided to eliminate the dangers inherent in propane and follow the electric-coach trend. In accordance with the National Electrical Code (NEC), we used a BX conduit through which stranded wires could be snaked. We installed junction boxes to facilitate any possible modifications to our initial electrical plan. A 10 kW diesel generator, a 4,000-watt Trace inverter, and eight Trojan T145 batteries were installed to provide DC current for the inverter.
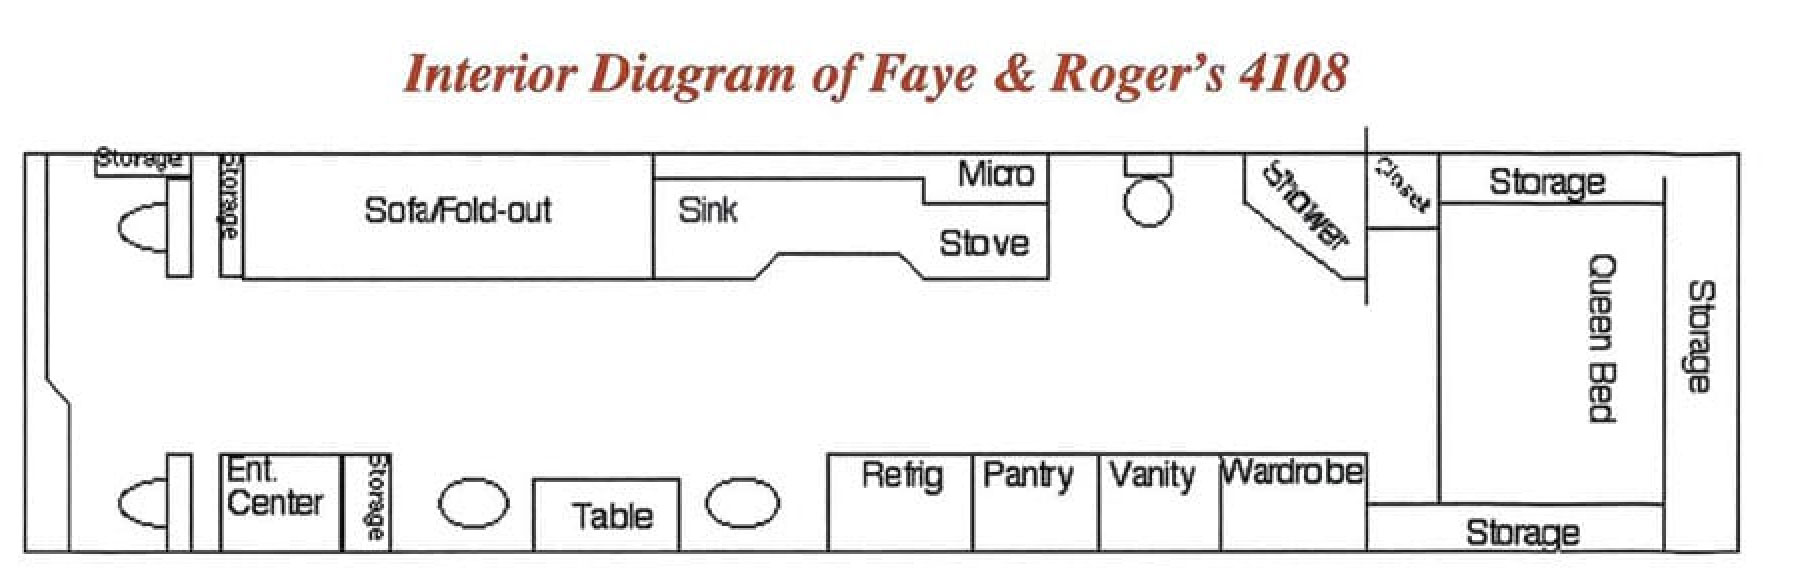
Once plywood was applied to the walls and floor, we were ready to complete the interior. After many hours of contemplation, numerous erasures on our graph paper plan, and several discussions while standing in the empty coach, we arrived at what felt like a workable and comfortable floor plan. We decided to start building at the back of the coach and move forward, completing each section as we went along.
Using red oak that had been knocked down on our Connecticut property by Hurricane Gloria in 1985, Roger built raised panel cabinets along the upper sidewalls of the bedroom. Scribing the cabinets to the irregular curves of the bus walls was a special challenge. We decided to install the queen-bed platform side by side, saving us 18 inches of floor space from front to rear, a very valuable commodity in a 35-foot coach. Shallow, shelved cabinets with mirrored panels were built along the rear of the room. An additional tall closet was added to the front corner of the bedroom, and a headboard with storage linked it to the rear cabinets.
As each section of the cabinets was completed, I applied the finish. We wanted the interior to be light in color, with the wood grain visible. A white pickling stain tinted with a pale gray pigment formula provided the desired color and translucency. Three coats of satin polyurethane were applied over the stain, sanding between each coat.
All room‑dividing walls were constructed of three‑quarter‑inch plywood and fastened to the rib structure of the roof, as well as glued to the outside walls. Our bathroom plan included a neo‑angle shower to be installed in a corner. Shower plumbing would be run within the cavity created between the outer coach wall and the new shower wall. The Conestoga‑wagon curve of the 4108 limited the height, so the showerhead could not be placed high enough to accommodate comfortable showering. It was apparent that dropping the shower floor would be easier than shortening our bodies.


Roger cut a hole in the plywood floor to accommodate the four-inch-deep tub he designed to serve as the shower floor, thereby increasing the height of the shower space. He fabricated the tub from plywood and fiberglass and built a reinforced iron framework to support the weight of the tub with a person standing in it. The neo‑angle enclosure was installed, and the floor, walls, and ceiling were tiled using a flexible grout.
Prior to installing the toilet, we detoured to the systems bay and installed the black, gray, and freshwater tanks, as well as a high-tech Manabloc hot/cold water system. The Manabloc system has a shut‑off valve for each hot and cold line run to every appliance. The red and blue color‑coded plastic pipes are easy to run because they are flexible. They are freeze-resistant and rated at 160 psi.
Three small access holes were drilled into the bay floors to eliminate the need for unsightly and cumbersome plumbing, electrical, and media hookups on the outside of the coach. When camping, we run all hookups through the floor for a tidy exterior appearance. When not in use, the holes are plugged with rubber industrial stoppers.
Back in the bathroom, the wardrobe and vanity areas were constructed. The full-length, three-quarter-inch oak raised panel wardrobe door features a shirt-hanging area and two deep drawers on full-extension guides rated for 150 pounds. A spring‑ball, loaded atrium‑door latch was installed to allow the door to either cover the wardrobe or close off the bedroom from the bathroom. In the kitchen, a matching door was built for the pantry, which can be used to close off the bathroom from the kitchen when desired.
We wanted lots of storage. Installing a floor-to-ceiling pantry with six 22-inch pantry drawers on 150-pound-rated, full-extension guides helped fill that need. The same style of oak cabinets completed the kitchen. Full-extension drawers and an oak-veneered refrigerator were also installed. The highlight of the kitchen is the mirrored backsplash, in which I etched a scene of wandering buffalo. Similar to the buffalo, they wander the neo-angle bathroom shower enclosure.
To maintain a unified look, we installed the same carpeting in both the living area and the bedroom. To minimize noise pollution, we decided to use carpeting as wall cover on any exposed wall up to the window sills. The Berber carpet we chose was very difficult to work with. We found that trimming all frayed edges along any cutting line helped reduce the carpet's unraveling. Nevertheless, we had to use a glue gun to secure occasional stray loops so they would not get caught and pull out a strand across the complete length of the carpet.
A shallow raised panel cabinet was built under a living‑area window to hide the oak pullout table when it was tucked away.


Roger used oak for the custom floor molding and door jambs, as well as for the windowsills and the upper and side window valances. Once again, the curves of the coach presented a challenge when fitting this trim. Every piece had to be measured and fitted individually. The upper valances were designed to conceal the shades and indirect lighting. A shallow raised panel cabinet was built under a living‑area window to hide the oak pullout table when it was tucked away.
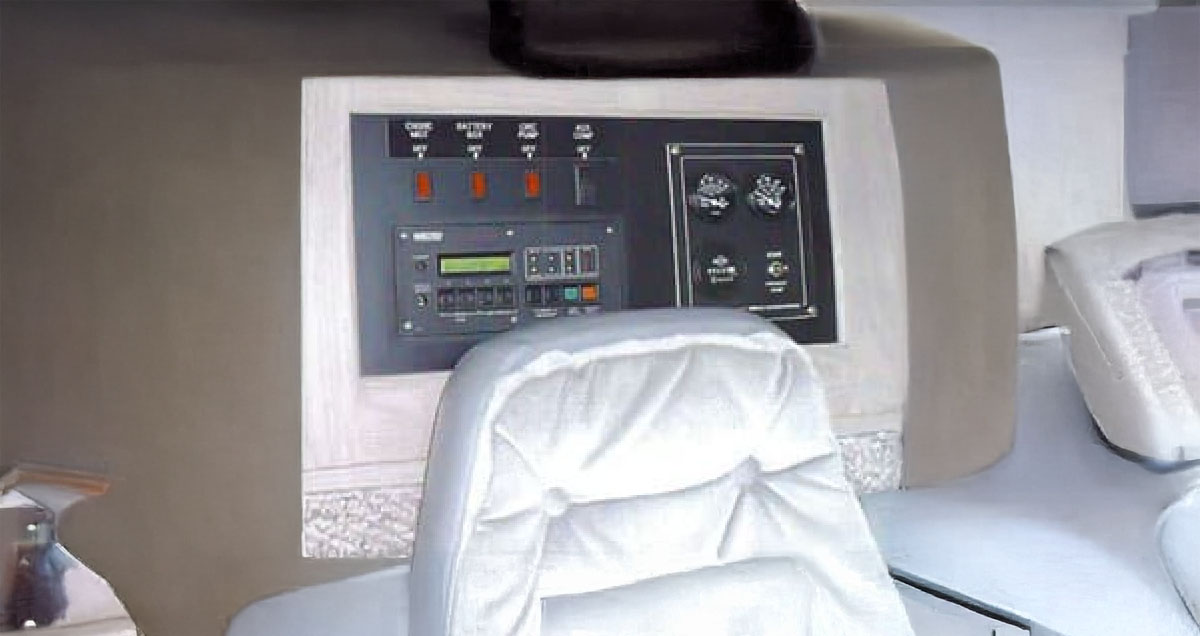
The end table, passenger‑side table, and media cabinetry behind the driver all had to be constructed around the front wheel wells and the stairs leading to the main floor level. To reduce road noise, Roger built thoroughly insulated false covers around each wheel well. The cabinets were then built around the covers. The media cabinet was equipped with two pull-out shelves, one for the TV/DVD and the other for the computer printer. Some of the system gauges and switches were installed on the driver’s side of the media cabinet.
Other modifications included a newly upholstered dashboard, window pillars, entry door, and driver's side panel. We also installed a destination sign cover with one-eighth-inch high-density foam, commonly used under vinyl car tops. These areas were then upholstered with industrial‑grade leather‑grain Naugahyde.
To finish the coach ceiling, we first glued EHP Rollboard to the back of the original ceiling laminate that we saved when we first dismantled the bus seven years earlier. These layers were then attached to the metal ribs of the previously insulated ceiling using self‑tapping sheet‑rock screws designed for metal studs. A slim coat of auto‑body plastic was applied to hide all screw holes and seams. Section by section, indoor‑outdoor carpet cement was applied to the ceiling using a one‑eighth‑inch notched trowel.
We then applied the rough‑cut finish ceiling material and trimmed it to fit. An old Bus Conversions Magazine article referenced a marine fabric as a product used successfully on a conversion ceiling. After an internet search and several phone calls, we were connected with a retail source in our own town. Foss hull liner/headliner is a thin carpet used to line the interior of custom yachts. It has a very thin backing, making it flexible, stretchable, and lightweight. It conforms easily to the curves and bends of a coach. As long as it is installed with the nap always going in the same direction, the seams are almost invisible.


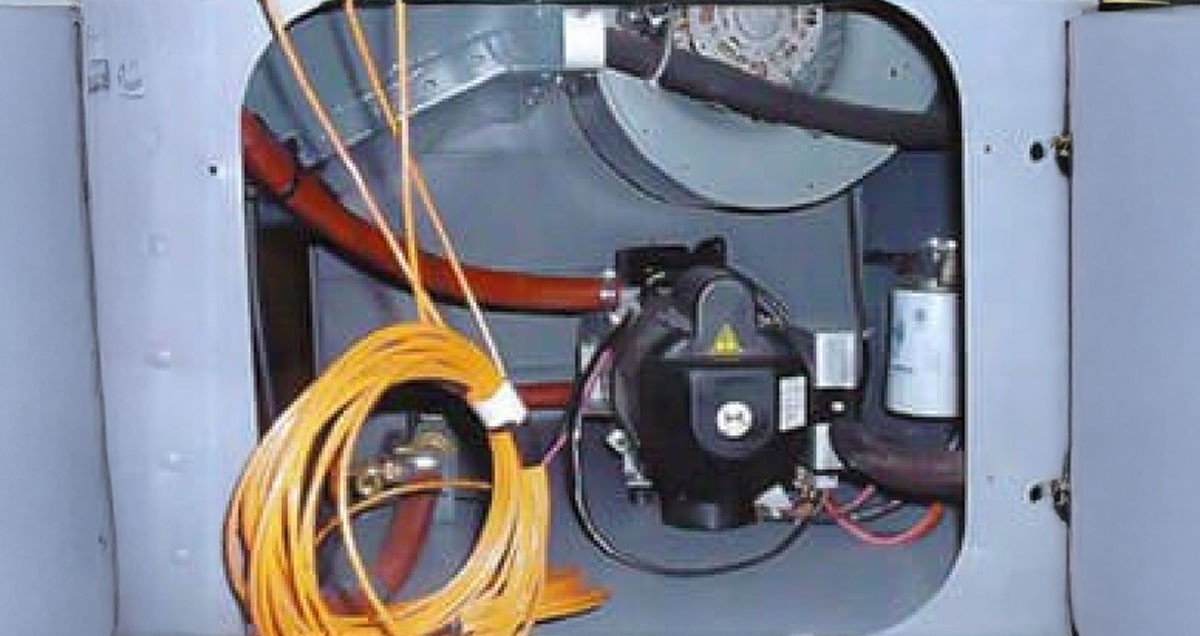
The final task to complete our coach was to build a convenient storage system into only one luggage bay. We needed to plan for easy access to the inverter and electrical circuit panels that were mounted on one interior wall, as well as the generator and furnace access doors on the opposite wall. We wanted to be able to reach items stored in the center of the bay as easily as those stored close to the bay doors on either side of the coach. Roger envisioned a sturdy drawer the exact size of the available space, front to back, as deep as the bay door to door, and open across the top.
The drawer would slide out from either bay door and have a lock to prevent it from moving when the bus is in motion. A sturdy sliding mechanism was necessary because we calculated that the tools, supplies, and miscellaneous items we would carry could be pretty heavy. We were able to purchase a fire truck hook-and-ladder sliding mechanism. It consists of a square steel tubing framework with ball bearings mounted to each side. The bearings roll in lengths of heavy channel iron.

Because the slider was 12 inches longer than the width of the bay, Roger cut and re‑welded the framework to fit. He then constructed a plywood drawer, dividing it into compartments to accommodate their supplies. The channel iron was fastened to the bottom of the bay, and the steel framework was mounted to the bottom of the drawer. The bearings ride in the channel iron, allowing the drawer to slide out on either side of the bay. The entire apparatus can be secured in place with the original hook-and-ladder lock. A couple of coats of paint, and we were ready to load.

The wardrobe door can be used to close off the bedroom.
In our first year of part‑time coaching we logged 12,000 miles and 150 days. The coach suits our needs very well, and we have no regrets. Our three‑year project projection turned into seven years, with time out for retirement, illness, and moving to another state. Our original $30,000 budget increased to $85,000, despite the numerous wholesale purchases we made through Roger’s various supplier connections.

to open the company's website.