


No products in the cart.

Jon and Missy Bain
December 2, 2025
75 views
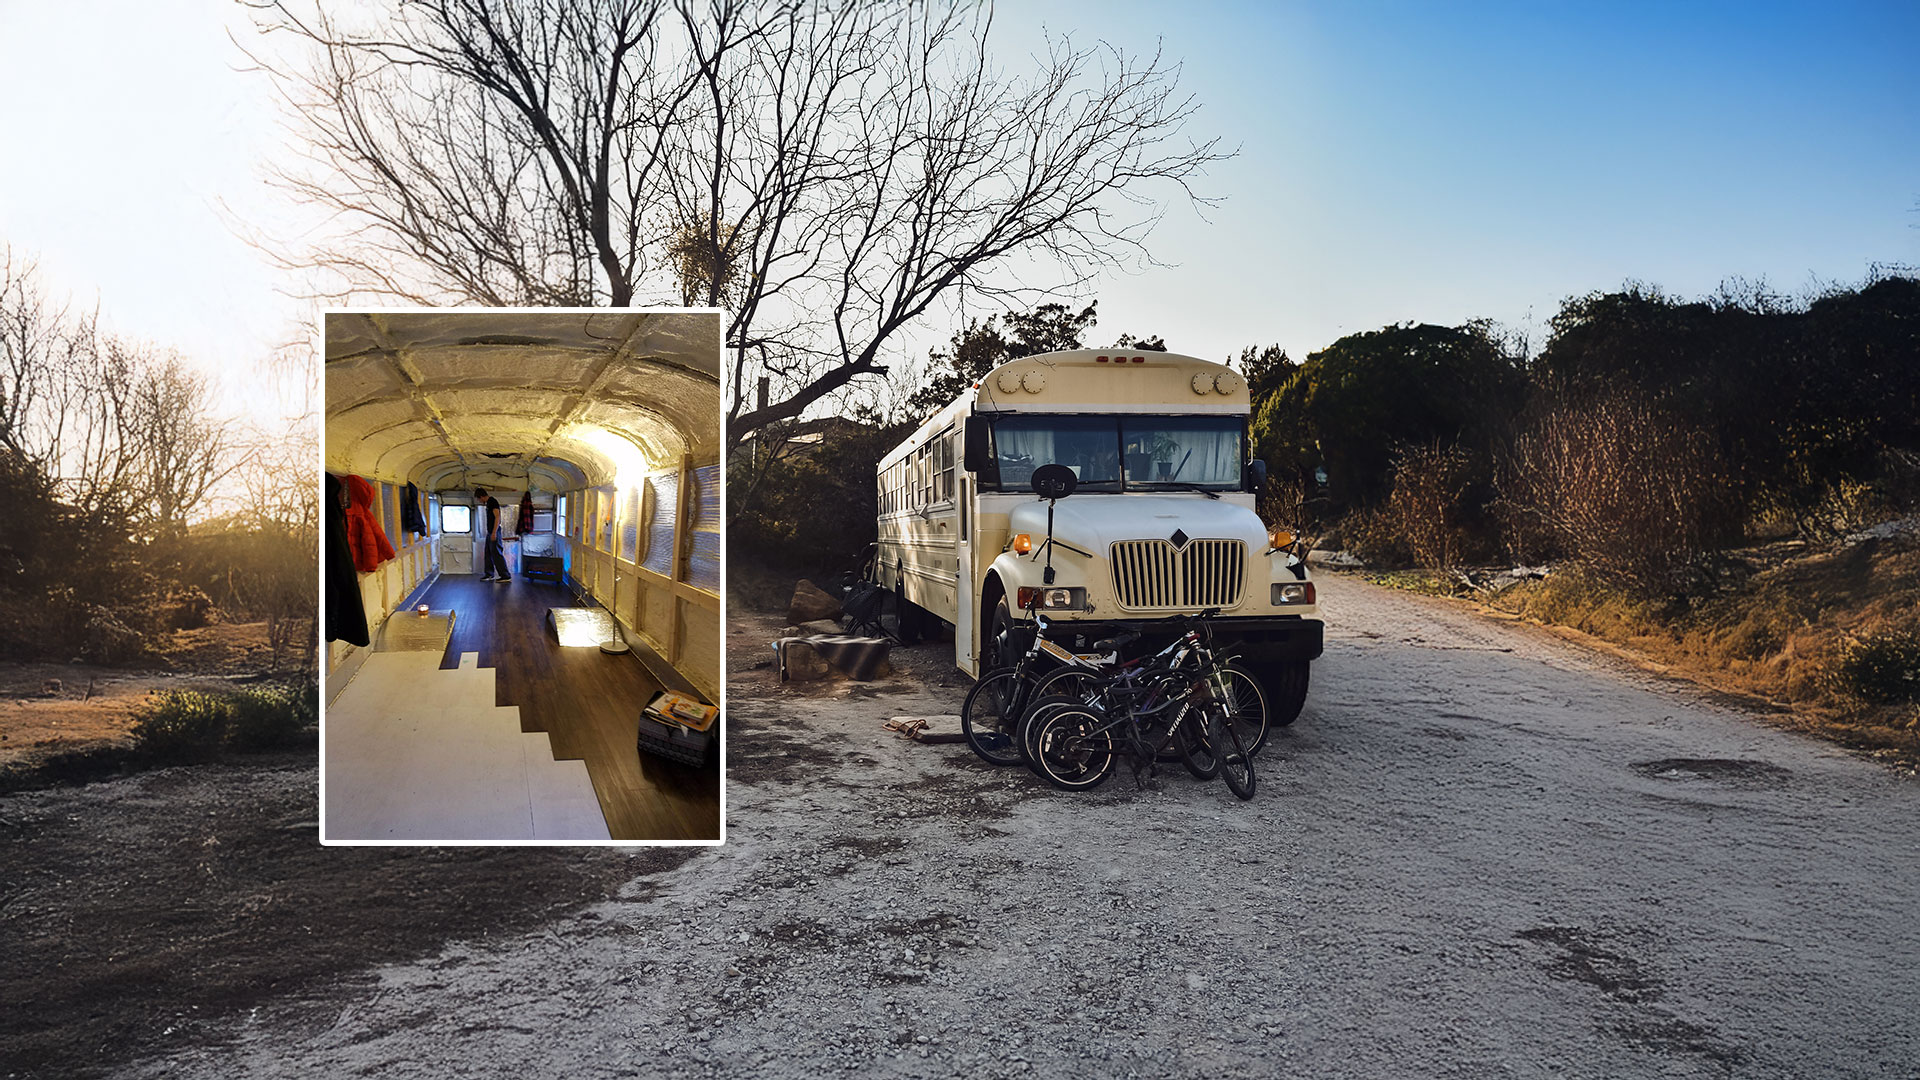
The Bain Bus. A Cozy 30' long, 1998 International Conversion
We always thought we’d build a tiny house, a cabin, or move to a warmer state. Then Jon had an idea… Let’s convert a bus!
We’re Jon and Missy Bain from Elizabeth, West Virginia. We have been married for 30 years, have two adult children, and have always enjoyed great adventures together. Over the years, we have tent camped, had a pop-up camper, a home-built tear-drop camper, and a 1999 Chevy Express 4x4 Quigley van, which we currently travel and overland in while we have been building our bus.
Jon's dream was always to build a Skoolie. I was always a bit apprehensive until seeing other bus builds and videos on YouTube. They decided to do it, so can we! Our goal was to be debt-free in the process and build it as we had the funds to purchase the materials and higher-end items we wanted. So…the work began to find the perfect bus.
In 2018, we purchased a 1998 International school bus from a friend in Ohio. It has a DT 466 engine and a 643 Allison transmission. It was handicapped equipped with a wheelchair lift and was only 30 feet long. Once we got it home, we kept planning, re-planning, sitting on the bus seats, and dreaming of different ways to build it out.

Our 30’ bus when we first got it home.
We first had to remove all the seats and then work on the layout. It took us a month or so to just come up with the perfect floor plan, which has changed since the first design. The thought of doing a roof raise was on our minds; however, because it was a handicapped bus, the roof was already as high as we needed it to be. So, we started the demo: removing the flooring, the heaters, the air conditioning, and getting ready to take out all the windows.

The windows and wheelchair lift were removed.
We decided to remove the windows and install RV windows to keep it warmer in winter and cooler in summer, and to increase privacy. Jon had to install sheet metal over all the holes where the windows were, and he also removed the wheelchair lift and covered the hole it left.

Covering the windows with metal.
The decision to use spray foam insulation was our best decision to keep it insulated. The floor was also sealed, and foam insulation was sprayed in.
The wheel wells were our biggest hurdle. Do we bury them, or do we include them in the layout…we decided to bury them in the layout. Under the kitchen sink and in the battery closet, the wheel wells are used as a base for the cabinet and closet.


The opportunity to purchase a damaged 5th-wheel camper came up, and we bought it for the Suburban heater, hot water tank, jackknife sofa, propane cookstove with oven, and we purchased all sorts of hardware, latches, and odds and ends.
The bus vision was to be cozy and comfortable like a cabin in the woods. We obtained an old sheet of roofing tin from my great-grandpa’s old building to use on the rounded part above the bus entry. We found an old 1939 wooden filing cabinet for our dresser, even though it’s located in the “kitchen” area of the bus. I enjoy going to antique stores to find hidden treasures to repurpose for our bus, thereby saving us a lot of money.
I found a Jadeite paper towel holder for the kitchen from the 1950s in a “junk” store and an old barometer for decoration on one of our travels in the South. There are unique touches in the bus as well. My sister had gifted me some paintings she created, and, with not much wall space on the bus, we decided to use them as cupboard doors above the driver's area. We have a 32-inch TV mounted above the steps and a surround-sound system to make it feel like our own theater on movie nights.

Looking toward the rear of the bus.
The white ship-lap walls throughout the bus and in the kitchen make it bright, neat, and clean. The paint colors we chose throughout the bus were all mis-tints that customers returned to Lowe's or other local hardware stores. No true color scheme was ever determined; the paint colors work and make it homey and fun. The countertop is made of 2x6 boards sealed with epoxy.
We have a galley-style kitchen; the cookstove, counter, and sink are on the left side of the bus with ample storage above for pantry items, dinnerware, a wall-mounted magnetic knife holder, and below, an under-cabinet trash can, cookware, and cleaning essentials. Above the refrigerator on the right side of the bus is extra storage for cooking items or whatever we need.

The kitchen area.
The bathroom area was recently finished, including the shower. We bought the white subway tile on a closeout sale and shower fixtures from Amazon, and we both agreed on the black grout. The shower has a cedar ceiling and a skylight for natural light. The toilet area features white walls, black trim, and a faux-copper ceiling. We found a small apartment-sized sink and faucet online.

The bathroom.

The shower.
Our bedroom is at the back of the bus. We have a queen-size memory foam mattress, and it’s built over the 50-gallon water storage tank, which is hooked to a Sure-Flow water pump. We also have a 40-gallon greywater tank under the rear of the bus.

The bedroom.
We have 1000 watts of solar on the roof, an 800-amp-hour battery bank, a mini-split air conditioner, and 12V lighting. Our refrigerator is 120V, and while the bus is parked in West Virginia, currently on the RV pad we built. It works for us.


The power closet.
Jon also built the new entry door for the bus because we wanted a more energy-efficient door than the factory-installed bus doors.
We started living in our bus in September of 2022 to test all the systems. We spent a few winter months in Texas in our van, where it was warm, but we came back and finished our bus. We had to finish painting and then move it. The lease on our sticks-and-brick rental was ending, so it was decided to find a piece of property to park the bus after it got painted.

Preparing the bus for paint.

Painting the bus.

Painting the rub rails.
The decision of color was our next obstacle. We wanted a cabin feel inside, with a beach-house look on the outside. Missy loves pastel beach cottages, so we thought Beachy Peach, Flamingo Pink, and settled on Turquoise. There were paint swatches taped to the side of the bus for days. We even did a test panel in Flamingo pink, and that was definitely not it… so Turquoise Tint it was, with the white trim and wheels.
We also wanted an awning for summer shade and an outdoor living area, so when our property became available, we started building an RV pad for the bus with water, sewer, and electrical hookups. Once the utilities were complete, we added string lights, a fire pit, and a swing to the front yard.

The bus on its RV pad in the summer.

The bus at Christmas.
We planned to take the bus to warm places in the winter, but sometimes life changes your plans. So, at this point in our lives, we are living tiny on our Skoolie in rural West Virginia. We built our 4x4 van to travel to Alaska in 2019, but when COVID-19 hit, and the border in Canada closed, we used the van to travel all over the US.
The bus, at this time in our lives, is our home. We do live in it full-time and love living tiny. Maybe someday in the future, the beachy Bain Bus can go south for the winter.
To be the first to read all new articles and to read thousands of articles about conversions back to 1992, become a member of BCM.
Click HERE to become a Member now!Click on any image in this column
to open the company's website.
to open the company's website.
