• Become a Member Bannert AD
  • National Bus Trader Banner AD
  • Superior Driveline Banner AD
  • Shade Smith Banner Ad
  • Straight Line Banner AD
  • Midwest Bus Parts Banner Ad
  • Unforgettable Fire Banner AD
  • Bus Manuals Banner AD
  • Guard1 Services Banner AD
  • Thinkware Dash Cam Banner AD
  • Tire Table New Banner AD
  • Flame Innovation Banner AD
  • Ardemco Supply Banner AD
  • Become a Member Bannert AD
  • Bus Manuals Banner AD
  • Superior Driveline Banner AD
  • Unforgettable Fire Banner AD
  • Thinkware Dash Cam Banner AD
  • National Bus Trader Banner AD
  • Flame Innovation Banner AD
  • Bus Manuals Banner AD
  • Shade Smith Banner Ad
  • Become a Member Bannert AD
  • Straight Line Banner AD
  • Bus Manuals Banner AD
  • Tire Table New Banner AD
  • Ardemco Supply Banner AD
  • Midwest Bus Parts Banner Ad
  • Guard1 Services Banner AD
  • Become a Member Bannert AD
Gary Hatt
September 4, 2020
272 views

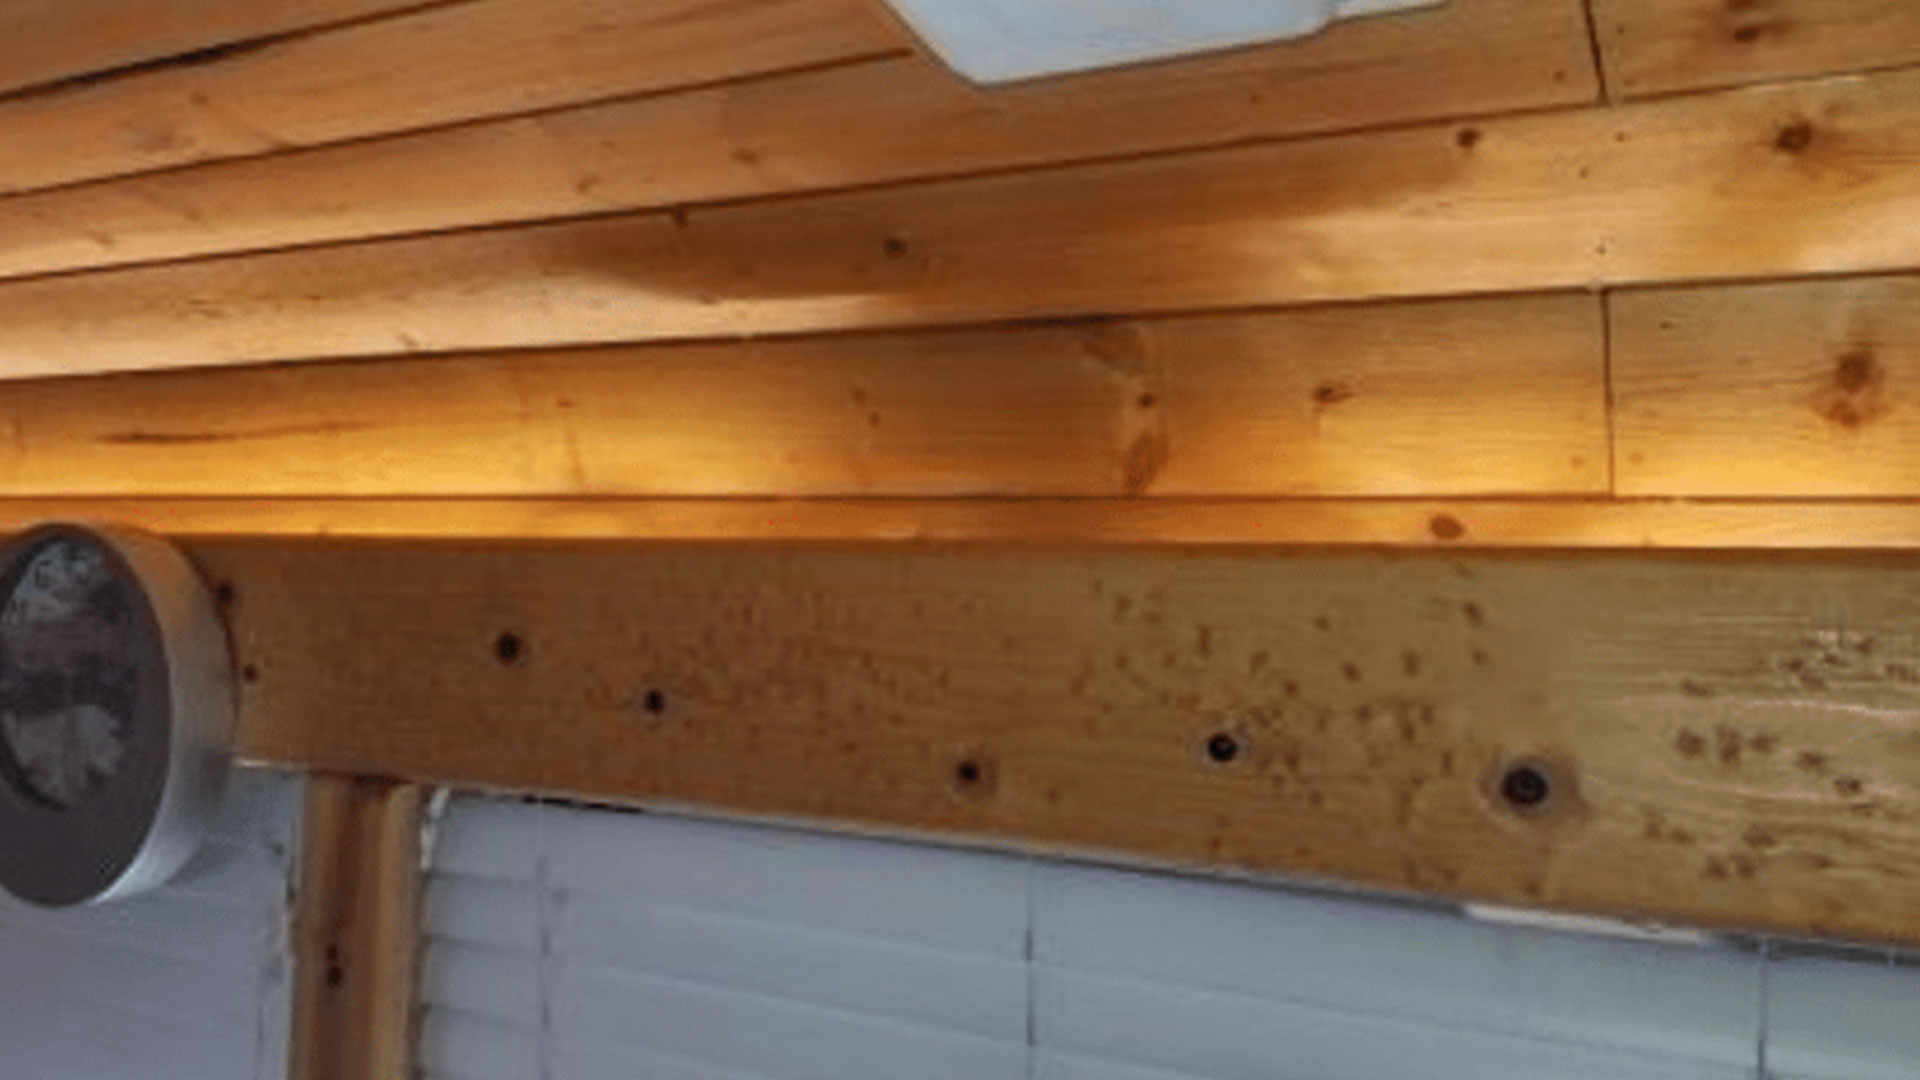
Bus Bit – The Clever Wire Chase

In some newer buses coming off the line now several miles of wire run through high-end conversions such as a Marathon coach. In other, simpler layouts, there is significantly less, but there is still a lot of wire required.

One thing many converters do when they convert an older bus is to remove all of the overhead reading lights, several old small TV screens if there are any, along with the luggage racks, seats, and the lavatory which is the most difficult job on some buses as they are all stainless steel and built to last.

Most people remove the wiring for these accessories too so they can eliminate any confusion with the new wiring they will be installing. People like to make it as easy as possible to keep track of the wiring by eliminating anything not required for the conversion.

After stripping everything out, one has to decide what appliances are desired in their conversion, buy them, and have them in your shop so you can take all of the measurements you need to be sure you have room to fit them properly.

Then you start to lay out the walls and cabinets to determine where the electrical components such as an electric stovetop if you decide on an all-electric bus, refrigerator, water heater, furnace(s), and washer/dryer.

You will also lay out all of the overhead lighting and position the roof air conditioners. Decide if you will have roof air as well as all necessary outlets and USB ports. You will also determine at this time where you want outlets and will have to run wires for those as well.

Nowadays, people require twice as many outlets on their buses then they did 20-30 years ago and now many are running USB wiring throughout the coach as well. If you have a pig (garbage disposal) you may also need an outlet under the sink.

There may be several miles of wire in your bus both for 12V and 120V needs that will be run back and forth along the length of the bus and across the width as well. You may also have a lot of relays in your bus like my Eagle does and many remote switches.

My bus has switches in the cockpit to control all lights on the bus so if you forget to turn a light off and drive into the night, you can turn off the light while driving without having to leave the driver’s seat to prevent glare on the windshield. My refrigerator and water pump can also be switched on and off from there as well.

My generator start switch is also located on the driver's panel so I can start and stop the generator while driving down the road. For example, when it starts getting a bit warm and I want to run the air conditioner(s) to cool off the bus. The only thing I cannot start from the cockpit is two of the three air conditioners but they could have been controlled too with a simple 12V switch and a couple of relays.

The front Air Command air conditioner can be turned on and off and the temperature and mode can be controlled from the cockpit because I have a mobile remote control velcroed on my dash and it can reach the front A/C unit. Because it has a heat pump, I can also set it to heat the cabin as well, all from the driver's seat and it also acts as my windshield defroster.

If you happen to be driving with passengers at night, you can also turn on any light in the bus from the cockpit while your passengers get up and walk around so they can see where they are going. This may be overkill, but the previous owner of my bus designed it that way so his wife could easily walk around the bus and not trip over anything while going down the road or after stopping in a rest area or camping spot for the night.

Many coaches have electrical problems, or owners want to add appliances after the bus conversion is completed. Once you finish your bus and close it all in, have you ever had to trace wire, or have you ever needed to add another wire to the system? In most bus layouts, this is next to impossible, and in a stick-n-staple unit, it is impossible as they do not design them to make modifications after it is completed.

However many of us have done it in our bus conversions. In my previous life, I did a lot of electrical work when I worked for my dad who was an electrician and I learned the tricks of snaking wires through walls and in almost any place imaginable. That is when I learned that you should never staple wires inside walls or secure them in any way because it makes it impossible to tie, for example, a snake or two wires onto the one existing wire to pull it through so you can run another circuit.

Even better, you can run wires in a bus in such a way that they are easily accessible and can be added to, removed, or traced without tearing any walls out. One very clever way is to create open-wire chases on your bus that you can easily access. I had them in my MC-9 Log Cabin bus that ran down both sides the entire length of the bus.

You can read about my Log Cabin bus HERE.

They ran behind cabinets where there were cabinets but for most of the bus, they were in the open above the side windows. The wires are hidden but can be easily accessed by simply reaching in and lifting them out of the wire chase checking the connections and testing them at any point.

I suggest using this method as it can be done without anyone being able to see the wires but provides you an easy method of accessing the wiring later if you need to debug a circuit or if you want to add a wire in the future, be it for a 12V or a 120V system, or coax cable or another wiring in your bus.

For a video showing how this wire chase works, click on this video: https://youtu.be/7FTfeDaMgGc

To stay updated with our latest bus conversion videos, subscribe to our YouTube channel as we add new videos every week.

Article written by Gary Hatt

Since July 2012, Gary Hatt has been the Publisher of Bus Conversion Magazine. Gary does most of his own work on his bus with the help of mechanic friends. He has owned tents, truck campers, travel trailers, and stick-n-staple motor-homes until he bought his first bus in 1997 which was a 1972 MCI MC-7 Combo. When he had a chance to buy a 1983 MCI MC-9 Log Cabin bus with larger windows he jumped at the chance. On Thanksgiving of 2014, Gary bought a 1967 Model 08 Eagle and has since been living and traveling full time in that.

You may reach Gary Hatt at

Gary@BusConversionMagazine.com

To be the first to read many new articles, and to read all articles back to 1992, become a member of BCM.
Click HERE to become a Member now!
  • Active Controlsll 1/4 AD

Related Posts

crosschevron-right